Home
Thimpress.com
Request Support
Awesome Themes
LearnPress & Addons
Education Theme
Apps
Real Estate
Charity Theme
Hotel Theme
Restaurants & Cafes
eCommerce Theme
Shopify Theme
Blog & Magazine Theme
Documentation
LearnPress & Addons
LearnPress
Read more
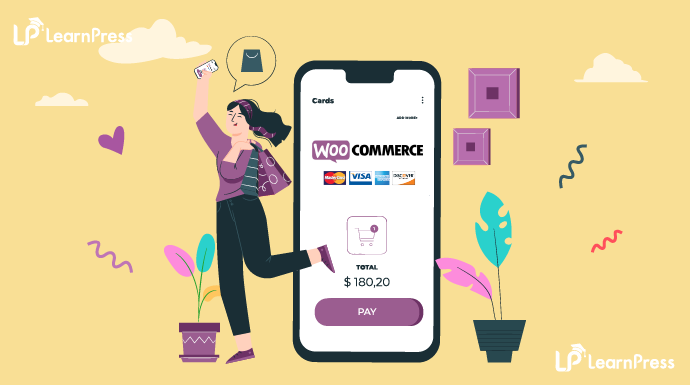
WooCommerce Add-on for LearnPress
Read more
Frontend Editor Add-on for LearnPress
Read more
Upsell Add-on for LearnPress
Read more
Live Course Add-on for LearnPress
Read more
Certificate Add-on for LearnPress
Read more
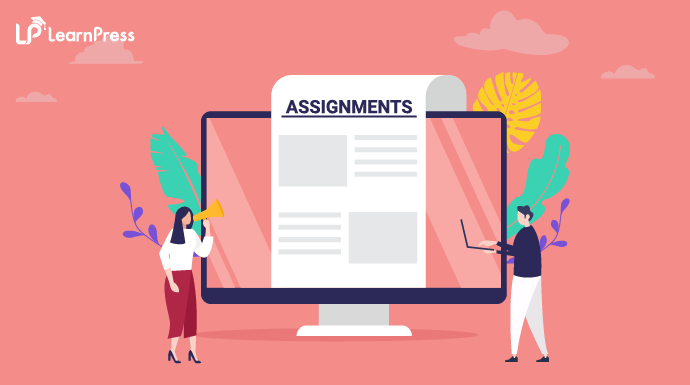
Assignments Add-on for LearnPress
Read more
Stripe Payment Add-on for LearnPress
Read more
Authorize.net Add-on for LearnPress
Read more
myCred Add-on for Learnpress
Read more
GradeBook Add-on for LearnPress
Read more
Paid Membership Pro Add-on for LearnPress
Read more
How to translate LearnPress and Eduma theme with Polylang
Read more
How to translate Eduma theme using the WPML plugin
Read more
Announcement Add-on for Learnpress
Read more
How to use LearnPress with WPML Add-on
Read more
Commission Add-on for LearnPress
Read more
Student List Add-on Learnpress
Read more
Prerequisites Courses Add-on for Learnpress
Read more
H5P Content Add-on for LearnPress
Read more
Export Import Add-on Learnpress
Read more
Co-Instructors Add-on for LearnPress
Read more
Sorting-Choice Add-on for LearnPress
Read more
Random Quiz Add-on for LearnPress
Read more
Course Wishlist Add-on for Learnpress
Read more
Content-Drip Add-on for LearnPress
Read more
Course Review Add-on for Learnpress
Read more
BuddyPress Integration Add-on for Learnpress
Read more
bbPress Integration Add-on Learnpress
Read more
Collections Add-on for Learnpress
Read more
Coming soon Add-on for Learnpress
Read more
2CheckOut Add-on for LearnPress
Read more
Thim Elementor Kit
Read more
Business Template Kits
Read more
LearnPress 3.0
Read more
Education Theme
Eduma
Read more
CorpTrain
Read more
CoachingWP
Read more
StarKid
Read more
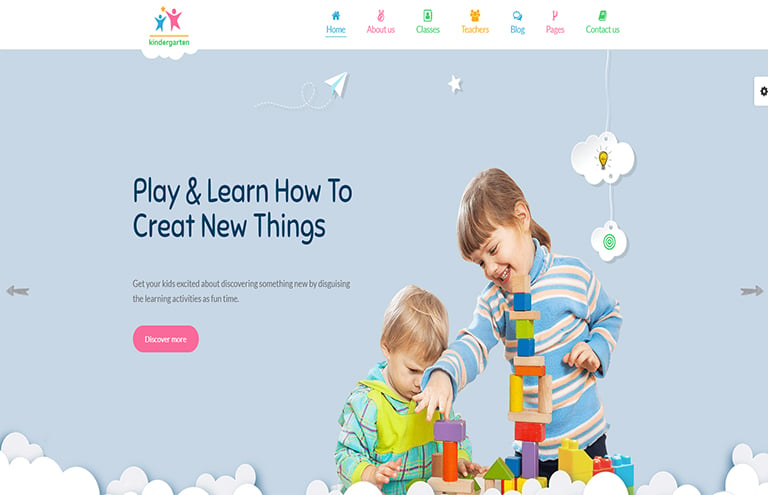
Ivy School
Read more
eLearningWP
Read more
AcademyLMS
Read more
OneLMS
Read more
Apps
Flutter App
Read more
MaxSale Bundle App
Read more
MaxSale Popup App
Read more
MaxSale App
Read more
Eduma App
Read more
Real Estate
RealPress Plugin
Read more
RealPress theme
Read more
Charity Theme
Charity-WP
Read more
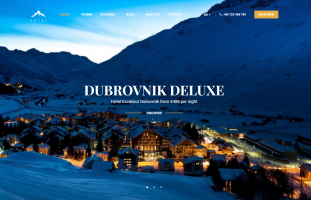
Hotel Theme
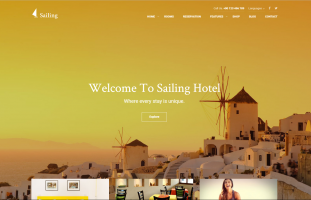
Sailing
Read more
HotelWP
Read more
Lux Hotel
Read more
EziHotel
Read more
WP Hotel Booking
Read more
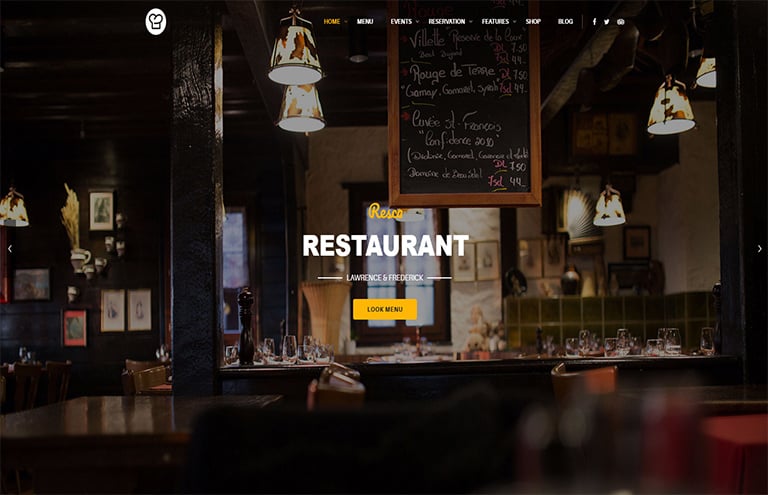
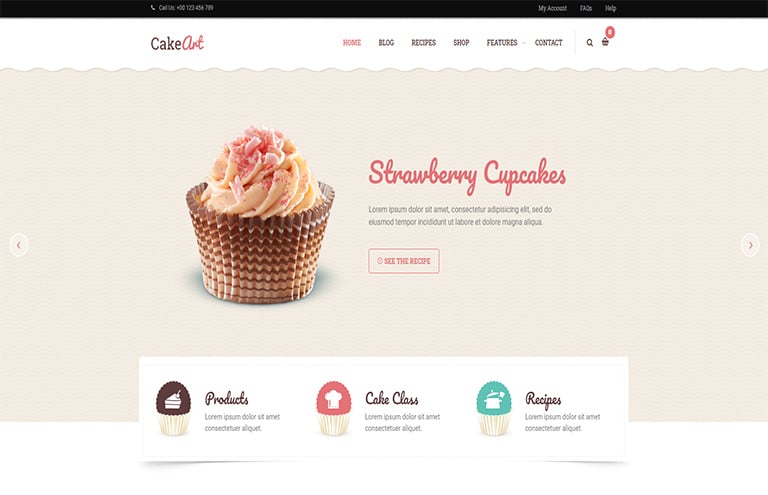
Restaurants & Cafes
Resca
Read more
Cakeart
Read more
Nem
Read more
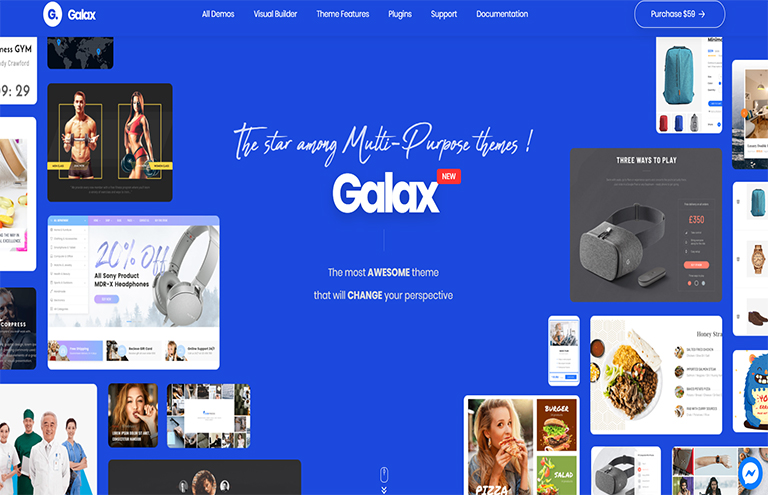
eCommerce Theme
Galax
Read more
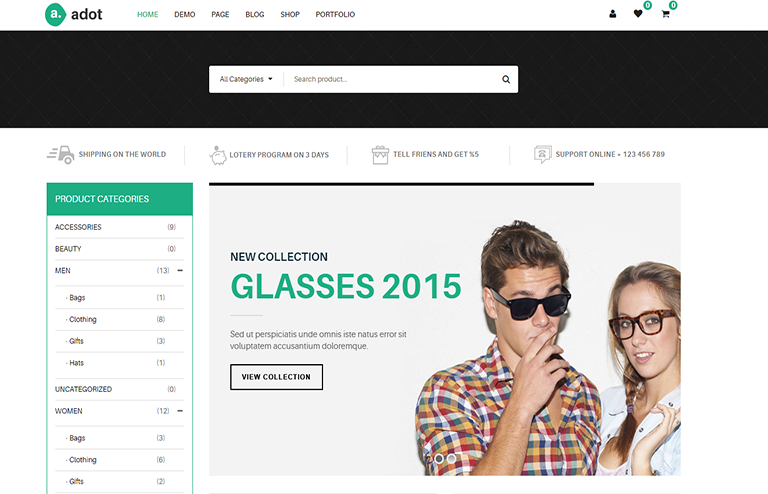
Adot
Read more
HairsalonWP
Read more
Shopify Theme
Thimpress Shopify Themes
Read more
Classy 2.0
Read more
Coma
Read more
Classy 1.0
Read more
Sale Master Shopify Theme
Read more
Blog & Magazine Theme
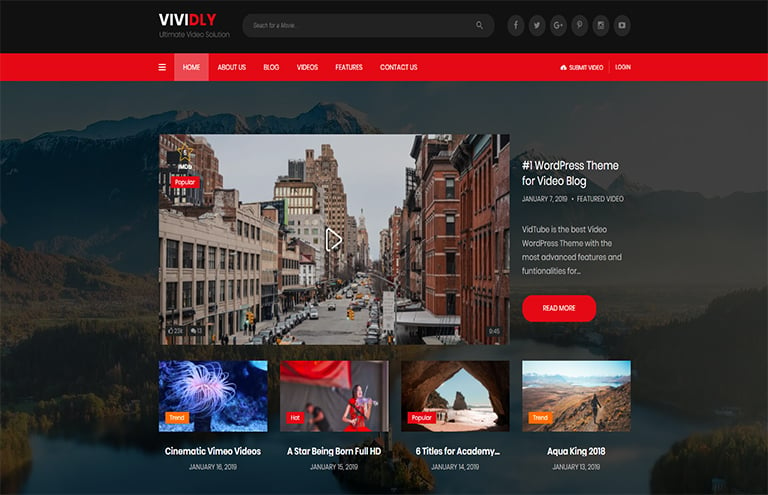
Vividly
Read more
Garage
Read more
Segmentio
Read more
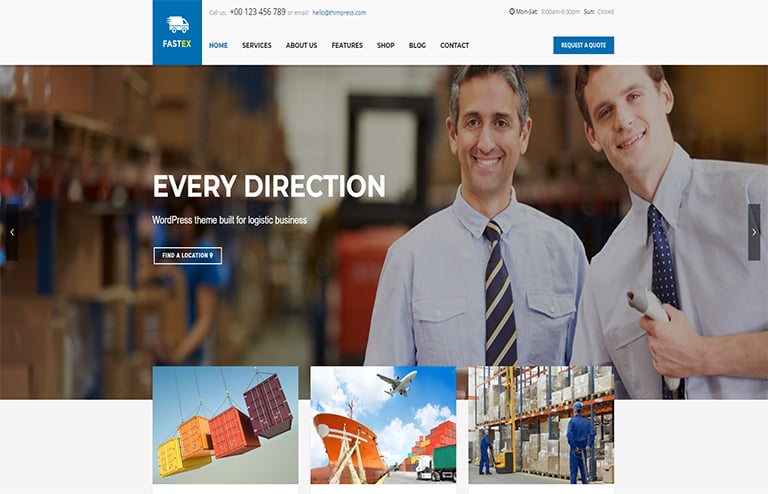
Fastex
Read more
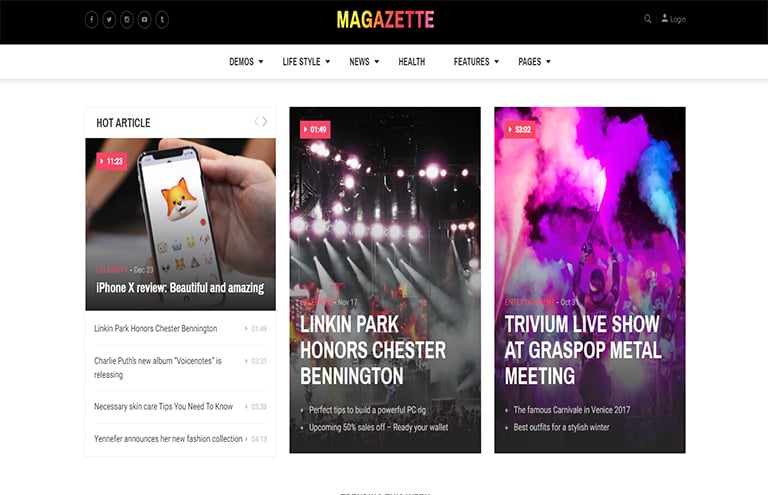
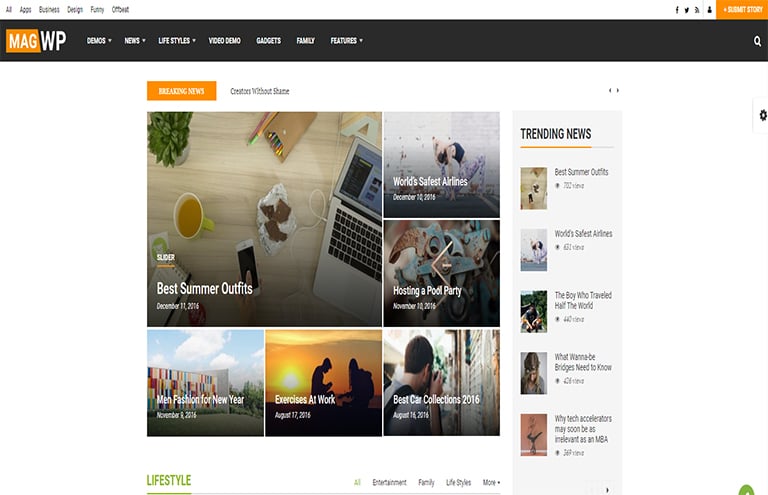
Magazette
Read more
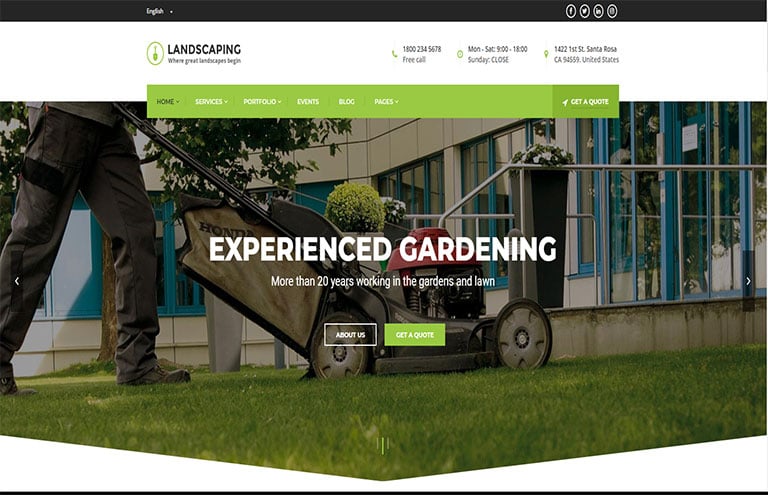
Landscaping
Read more
Magie | Magazine
Read more
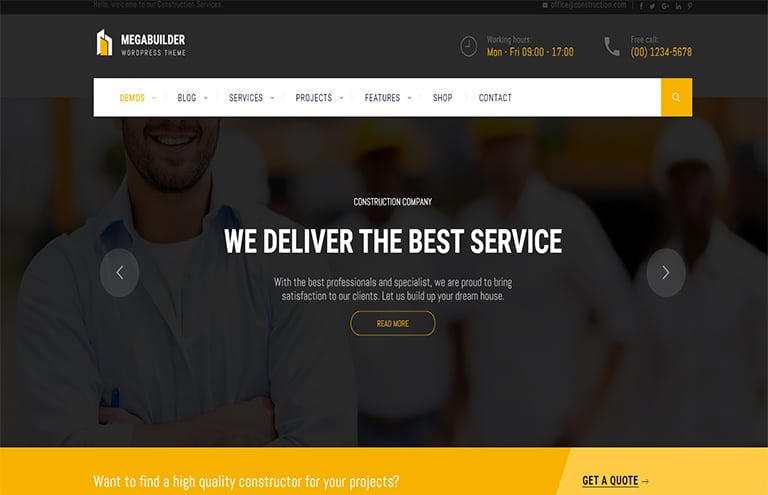
MegaBux
Read more
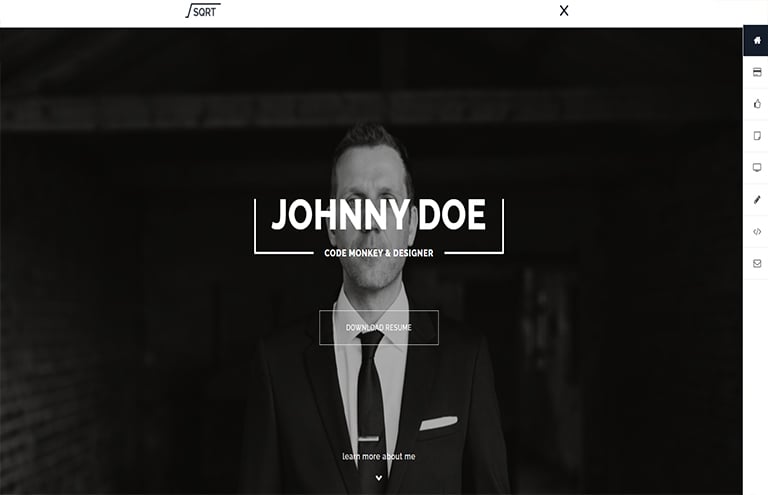
Squareroot
Read more
HairsalonWP
Read more